Our Scorebird integration allows for a Scorebird automated scoring system can be used in conjunction with the BlueFrame/Production Truck software to automatically update scoreboard data.
Step 1 - Click the gear icon to open settings
Step 2 - Select the Scoreboard tab
Step 3 - Select the source dropdown and select Scorebird.
Step 4 - Click the "Update Overlays" box
Step 5 - Click the plus sign to add your Specific NeST device
Step 6 - Enter your 5-digit NeST ID #, and click Add
Step 7 - Data that your NeST receives will display here;
must say "Connected" in the Status tab
*ACCESSING OVERLAYS ONCE YOUR NEST IS CONNECTED*
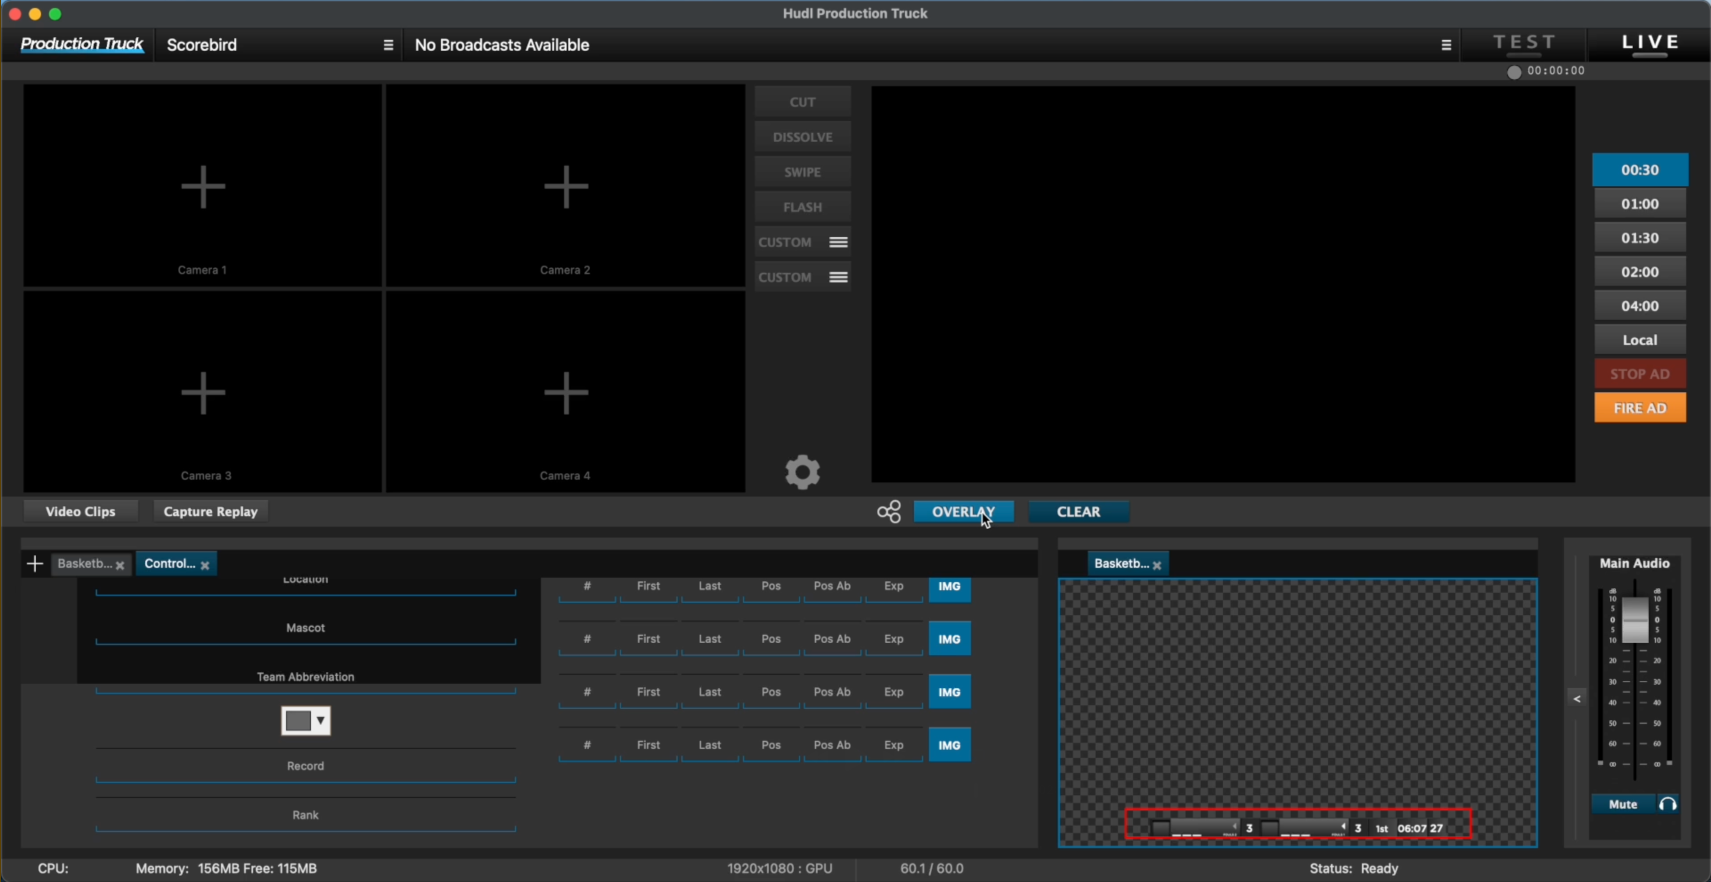
Step 1 - Click the plus in the bottom left field
Step 2 - Select the scoreboard template you plan on using, along with a control panel
Step 3 - Drag the scoreboard tab to the preview screen (bottom right field)
Step 4 - In the control panel, select the boxes "Game" & "Shot" by the Clock field; this displays all clock data in the overlay
Step 5 - Click the "Overlay" button in the center to display the overlay on the monitor
OFFICIAL PRESS RELEASE: